Billing Account Management
Setting Up a Billing Account- Host Admin
Follow the steps below to set up a billing account and manage billing details:
Step 1: Navigate to the Billing Setup
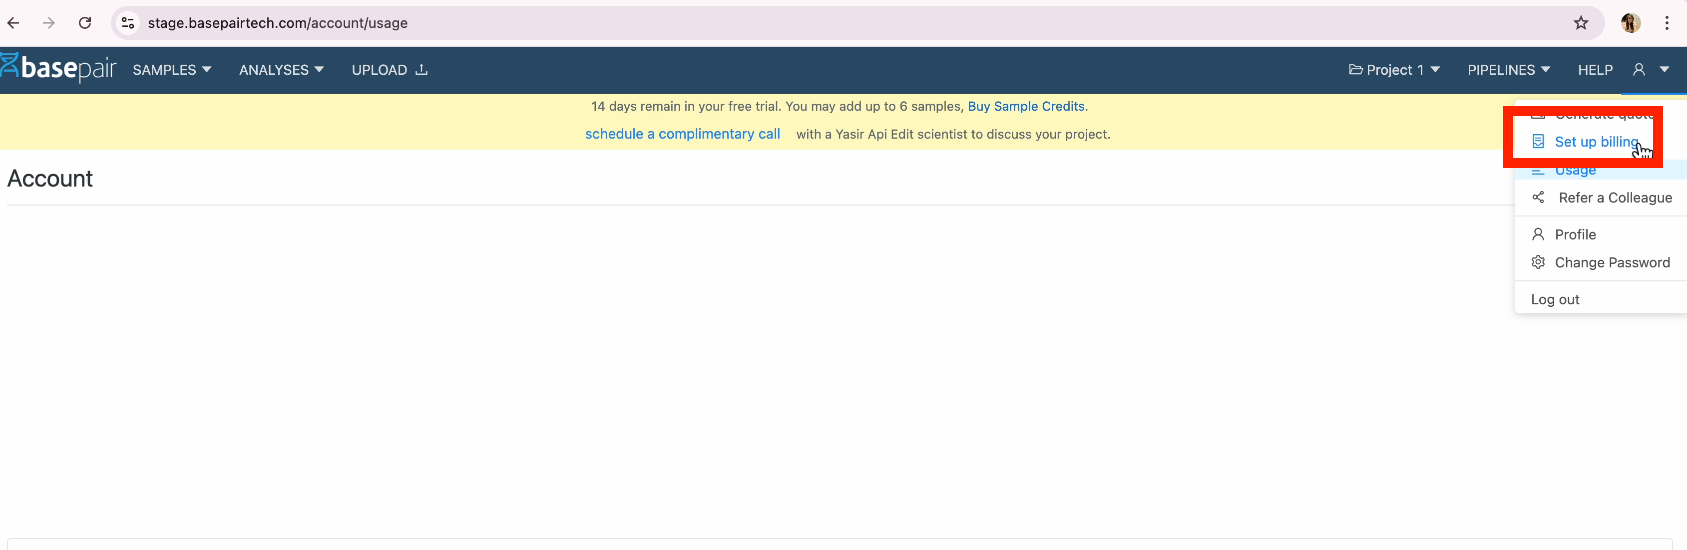
- Access the Landing Page: Once you arrive on the platform's landing page, go to the top-right corner.
- Open the Profile Menu: Click on the profile icon.
- Select "Set up Billing": Choose the "Set up Billing" option from the dropdown menu.
Step 2: Complete the Billing Form
A billing form will appear, prompting you to fill in the following details:
- Account Name: Choose a unique account name.
- First Name: Enter your first name.
- Last Name: Enter your last name.
- Email: Provide a valid email address.
- Organization: Specify your organization name.
- Address: Enter your full address.
- City: Specify the city.
- State: Provide the state or region.
- Zip Code/Pincode: Enter the zip code or postal code.
- Country: Select your country from the dropdown list.
- Plan Type: Choose a plan type based on your requirements:
- Student
- Academic
- Enterprise
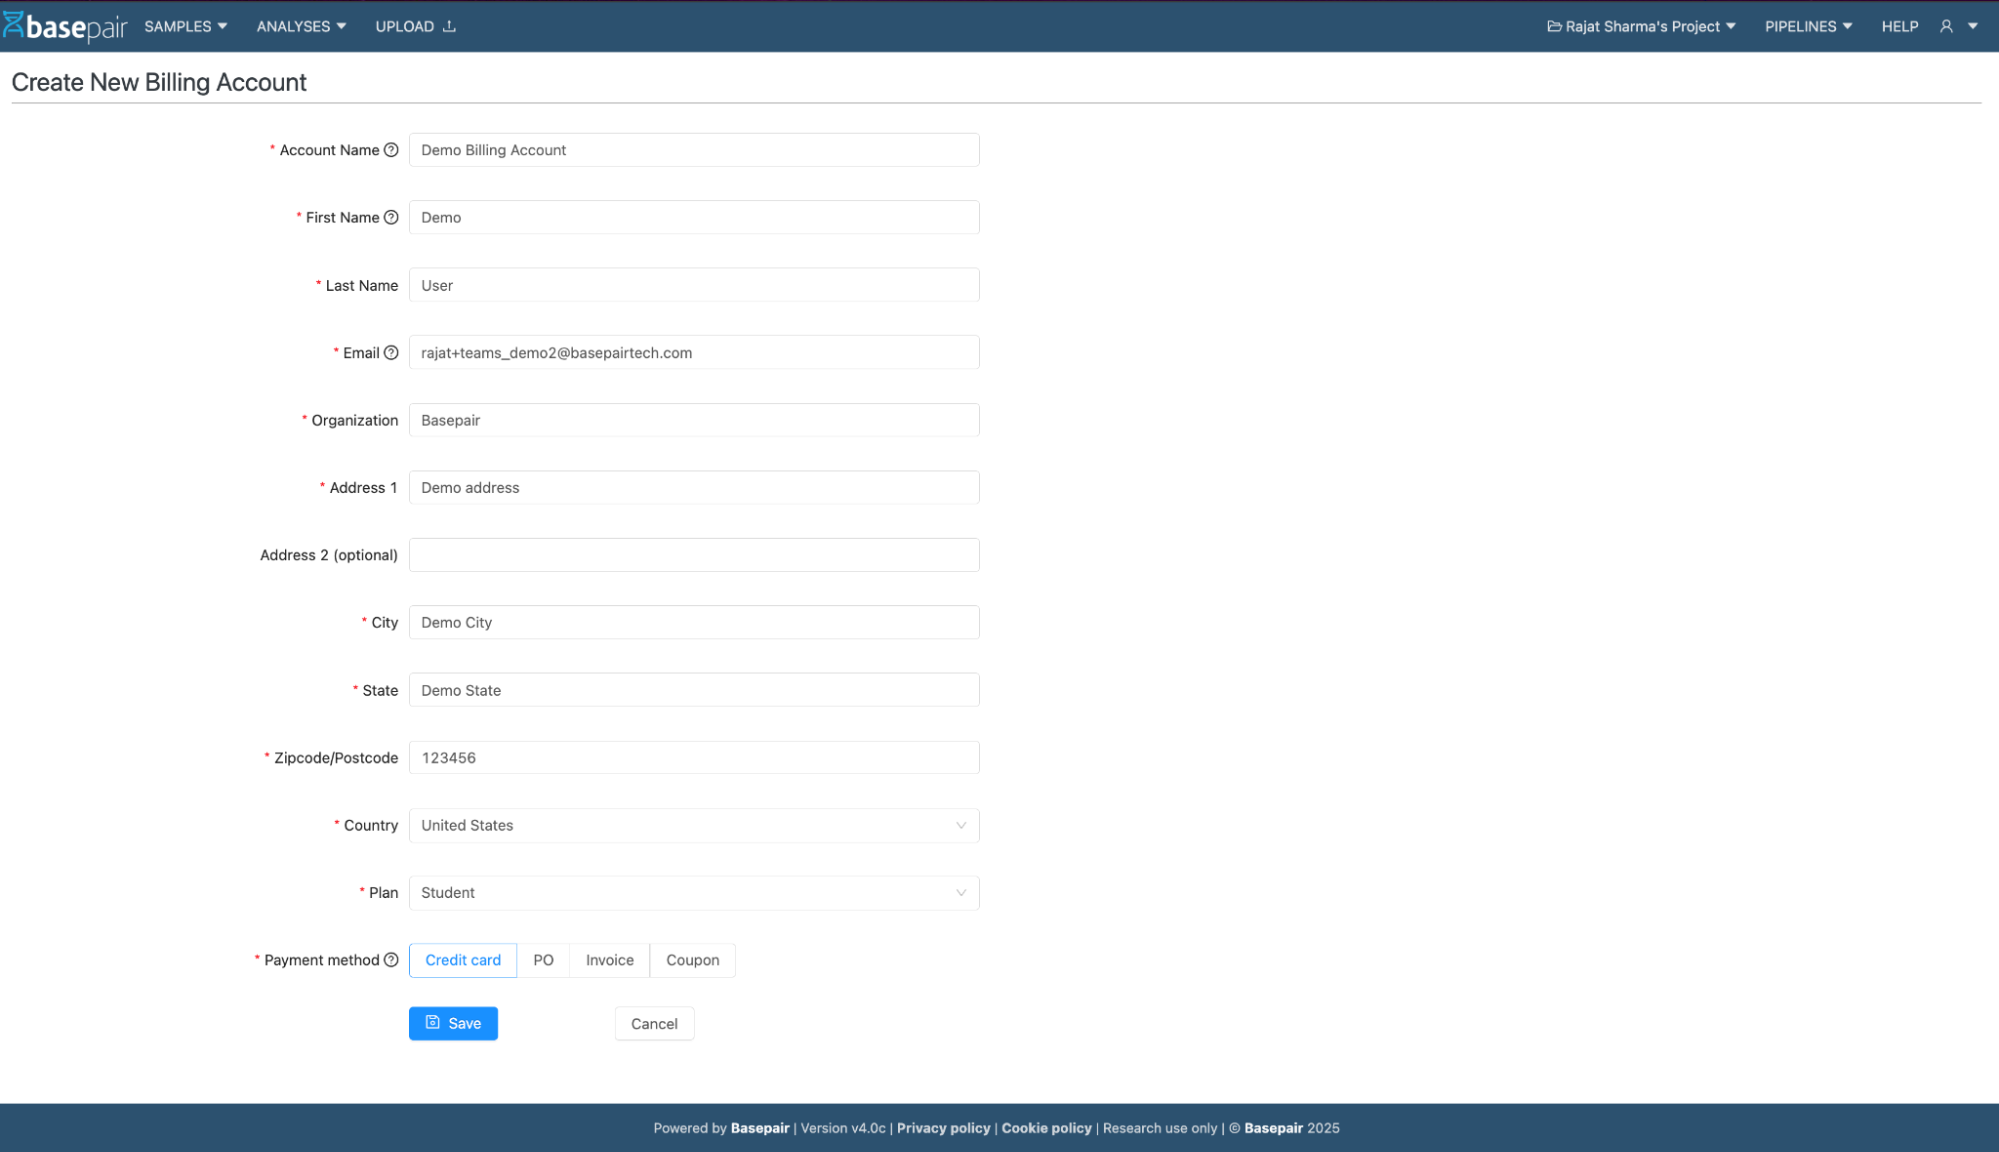
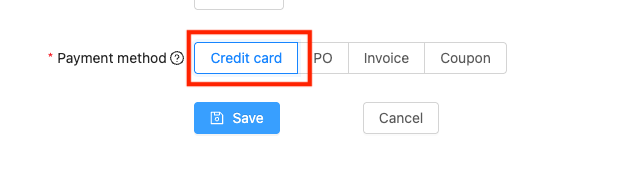
- Payment Method: Choose "Coupon" “Credit card”, “PO”, “Invoice” as the payment method if applicable.

Step 3: After Creating the Billing Account
-
Associating the billing account with the Team : please refer to the https://docs-basepair.vercel.app/teams/billing document.
-
Once the billing account is successfully created, you will be redirected to a page with multiple tabs, each serving a different purpose
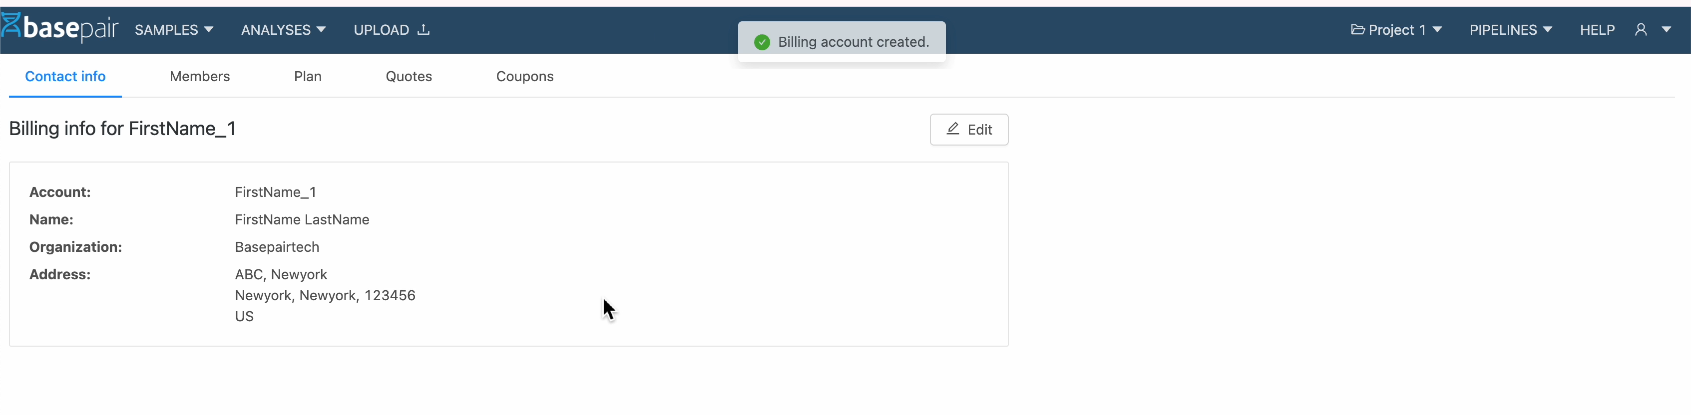
- Contact Info Tab:
- Displays details of the billing contact, including account name and contact information.
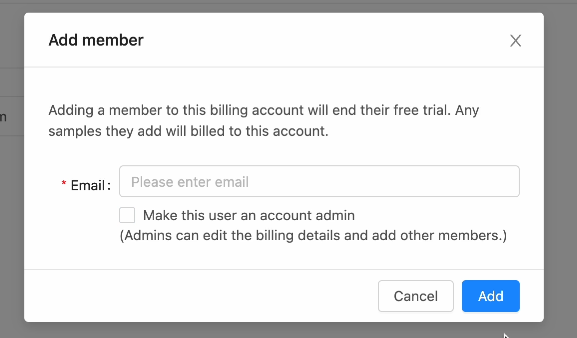
- Members Tab:
- View details of all associated members.
- Add New Members: Click on the "Add Member" button to open a dialog box. Enter the member's email address and confirm to add them.
- Contact Info Tab:

- For Plan tab, Quotes tab, Coupon tab: User can view the details but require Host admin access
Step 4: Purchase Credits
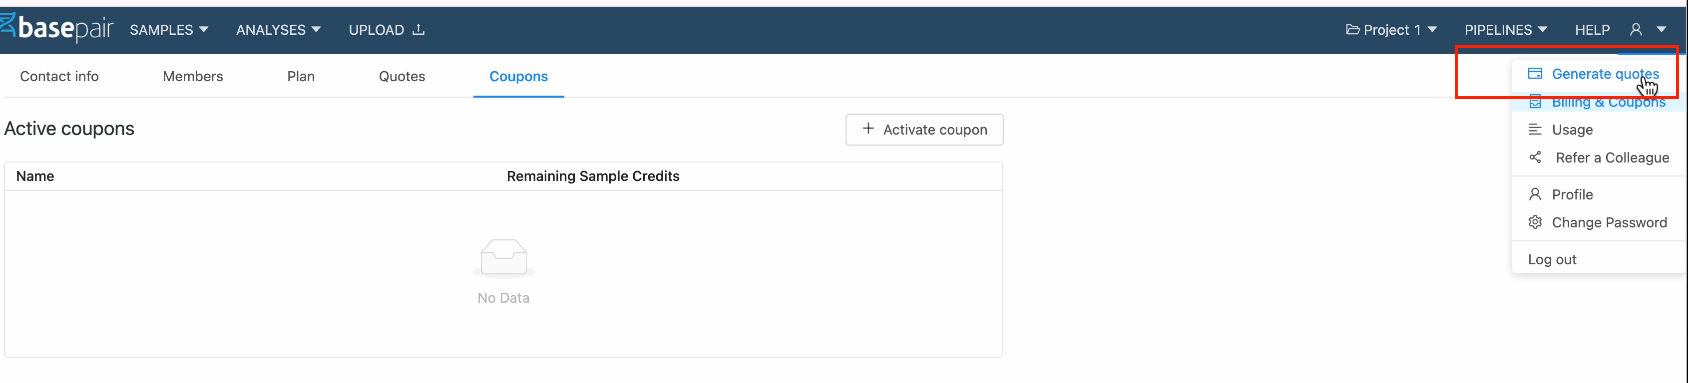
- To generate a quote, click on the "Generate Quotes" option located in the top-right corner.
- You will be redirected to the quote generator page, where you can add details for various types of samples and generate a quote.
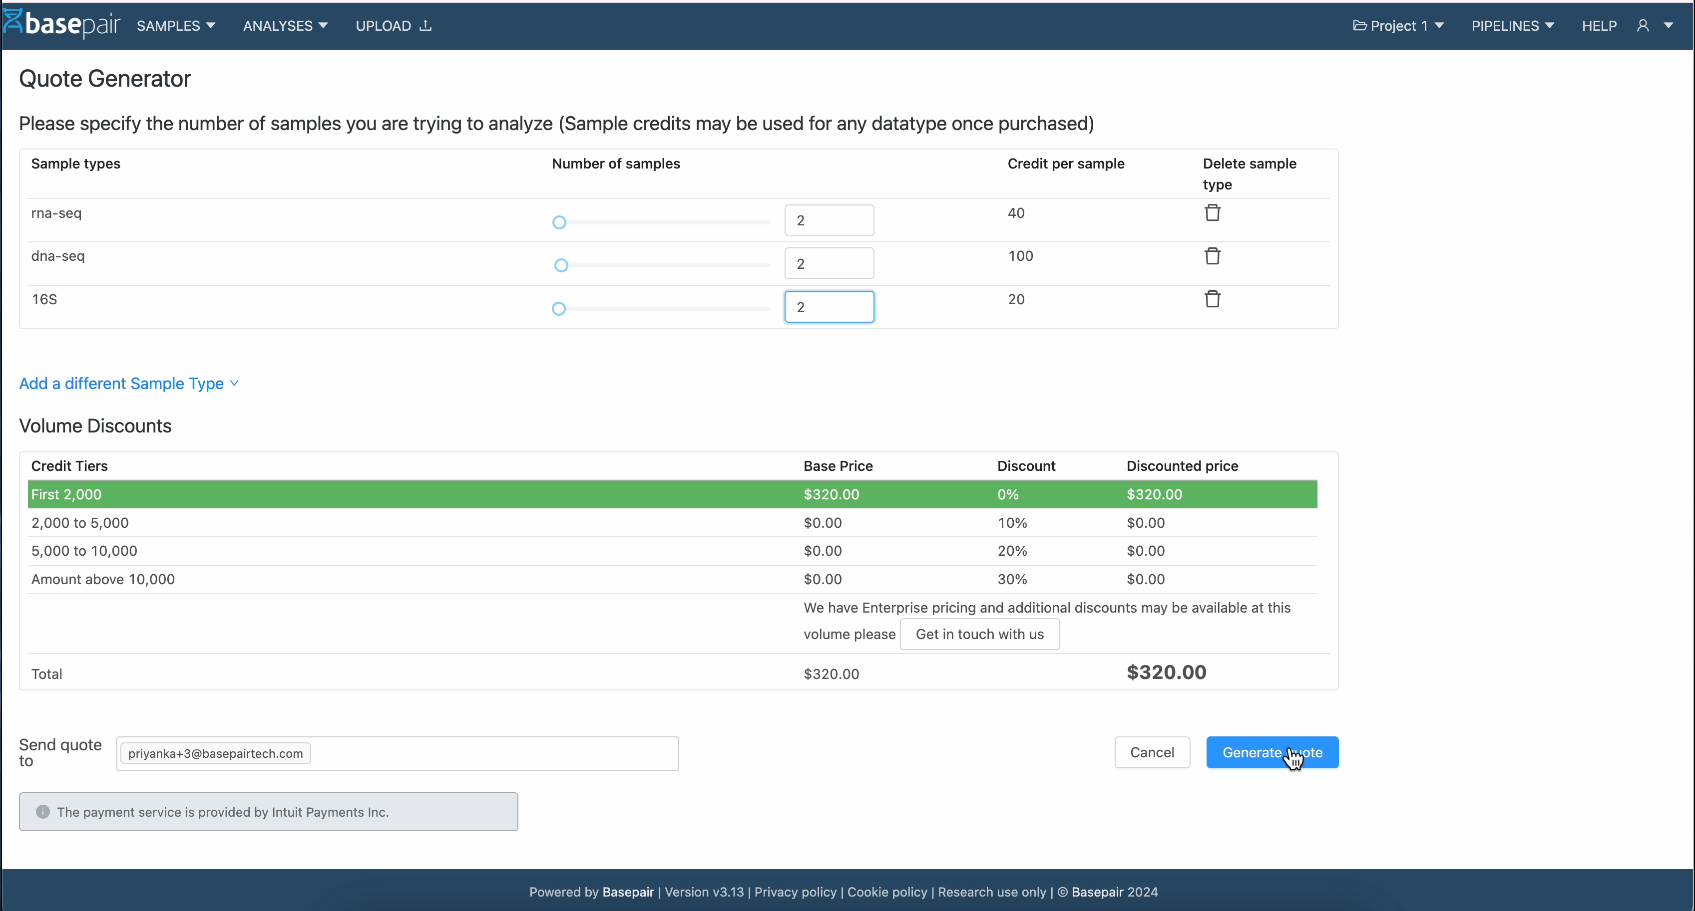
The quote will be sent to the user’s email address provided. Note: A quote will not be generated unless the team is mapped to the corresponding billing account.
To Make a Payment:
-
Coupon Activation: For more details on coupons, please refer to the documentation: https://docs-basepair.vercel.app/admin-guide/coupons.
Note: Host Admin access is required to generate and activate coupons. If you do not have Host Admin access, please contact the Basepair team to enable it.
-
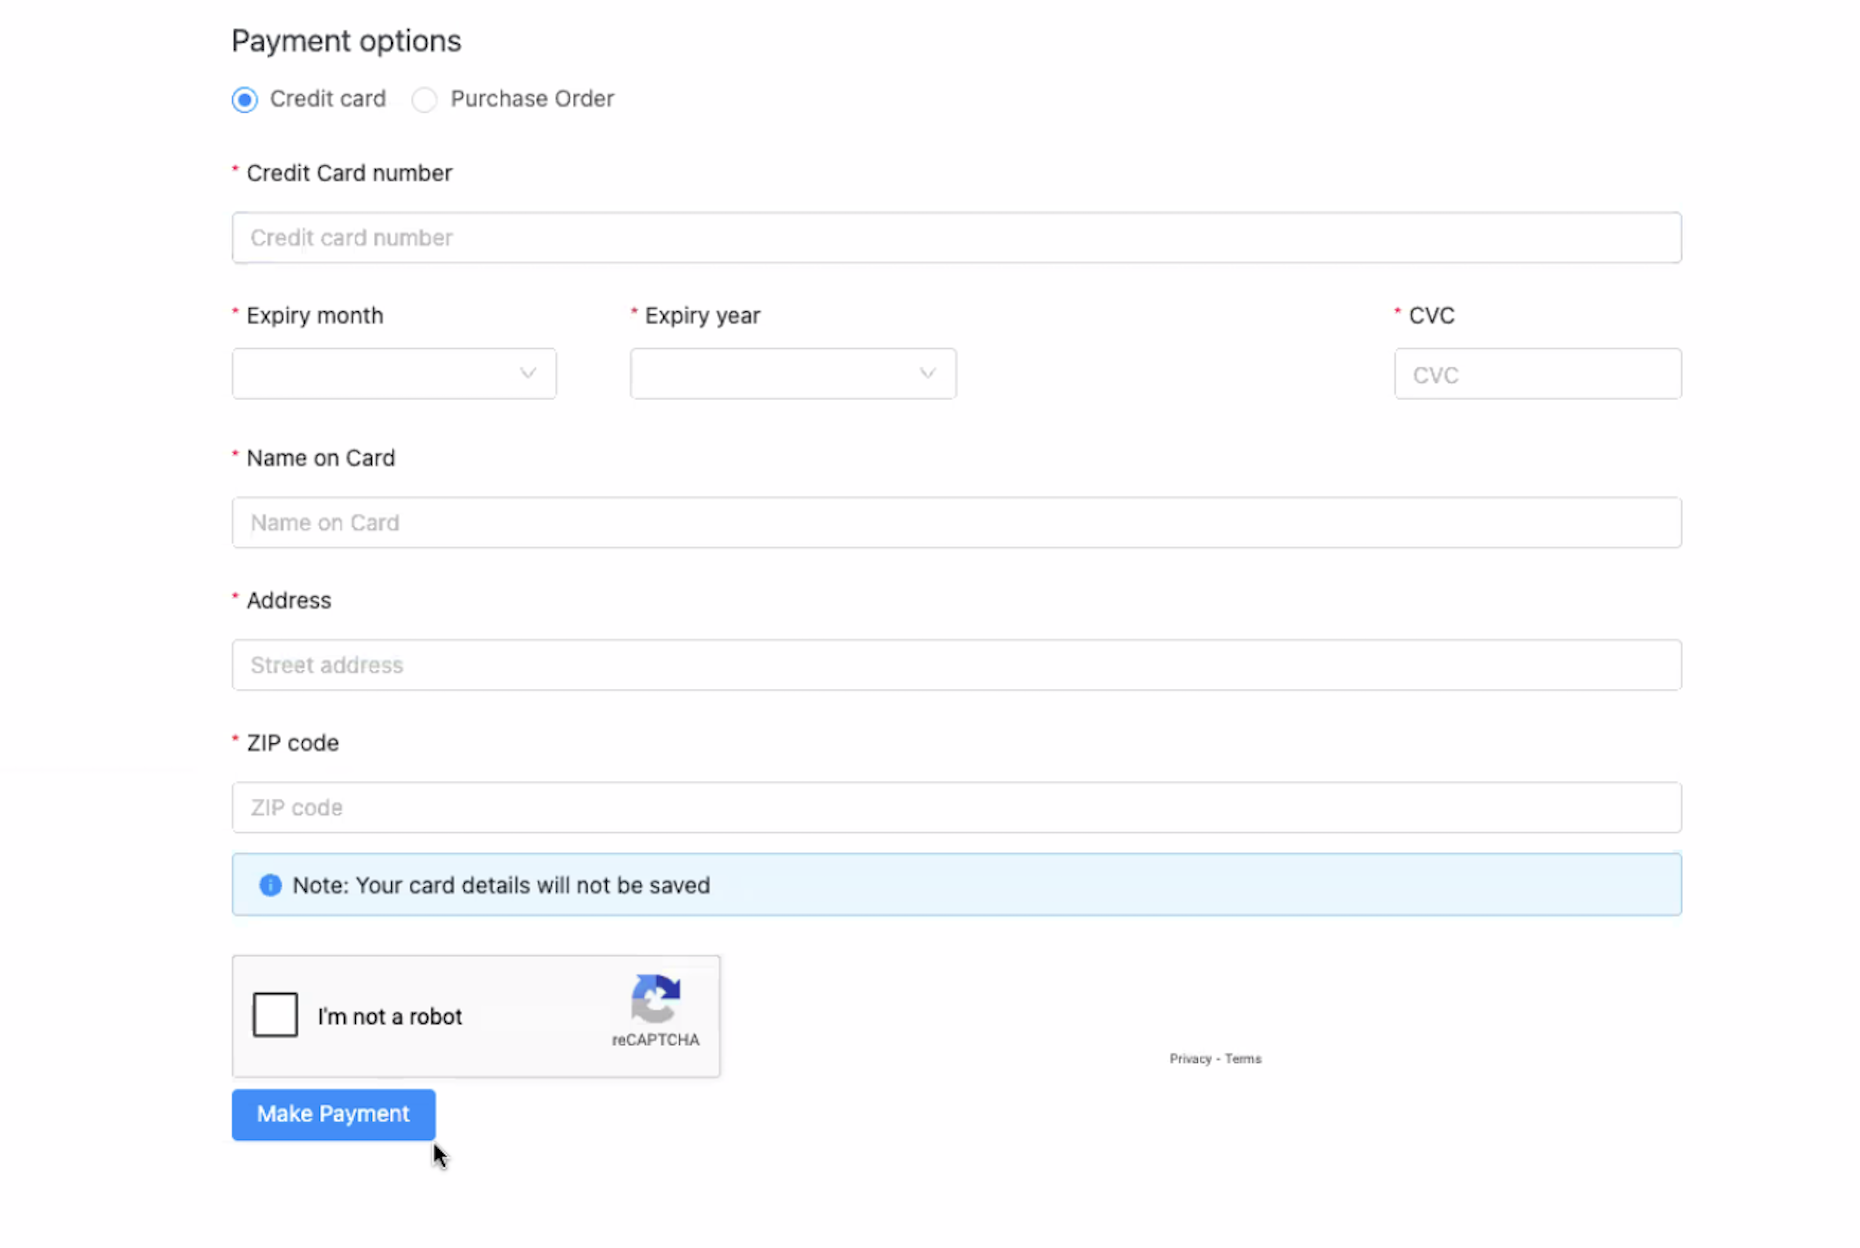
Credit Card / PO
Enter the required details and click “Make a Payment” to purchase credits.
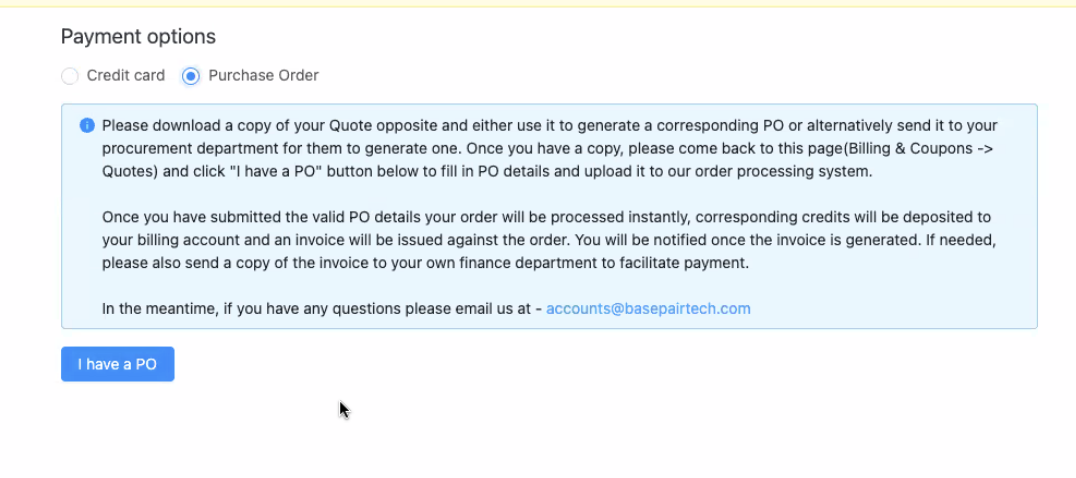
If the user has a Purchase Order (PO), they can upload/submit it via this page and proceed with the purchase.
- Credits will be added to the account automatically.
- To view available credits:
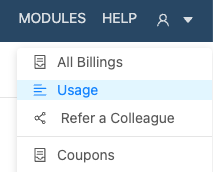
- Go to Settings → Usage
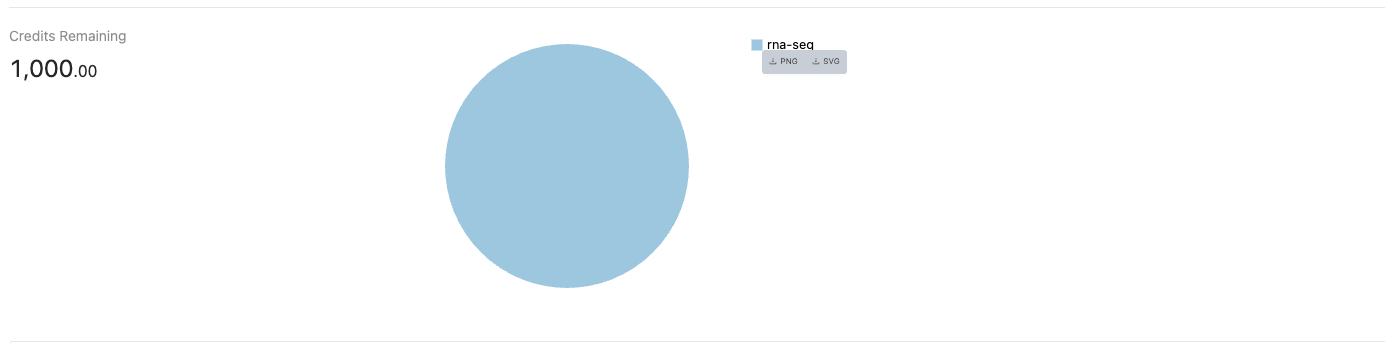
- The remaining credits will be displayed there.
If there is any issue with credits not reflecting, please reach out to the Basepair team for assistance.